Archly
Your design, developed on one canvas.
Start with a sketch or render. Connect material and lighting studies, compare iterations, then turn a selected image into video. Keep the source and each step together as you work.
Image, video and 3D tools in your browser.Related research and articles
- Source image
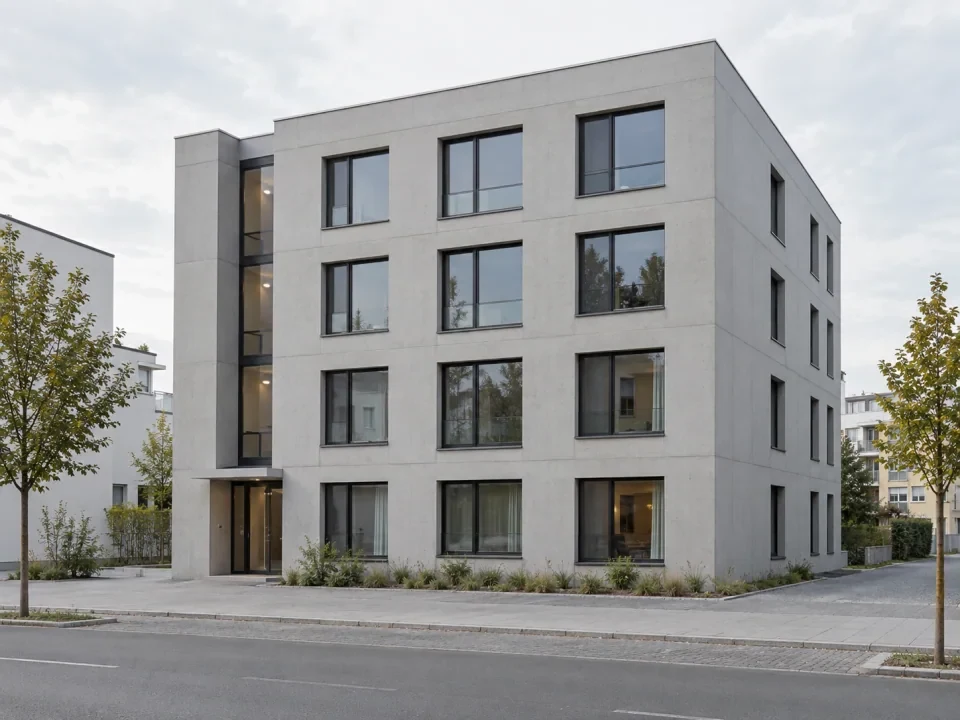
- Explore alternatives
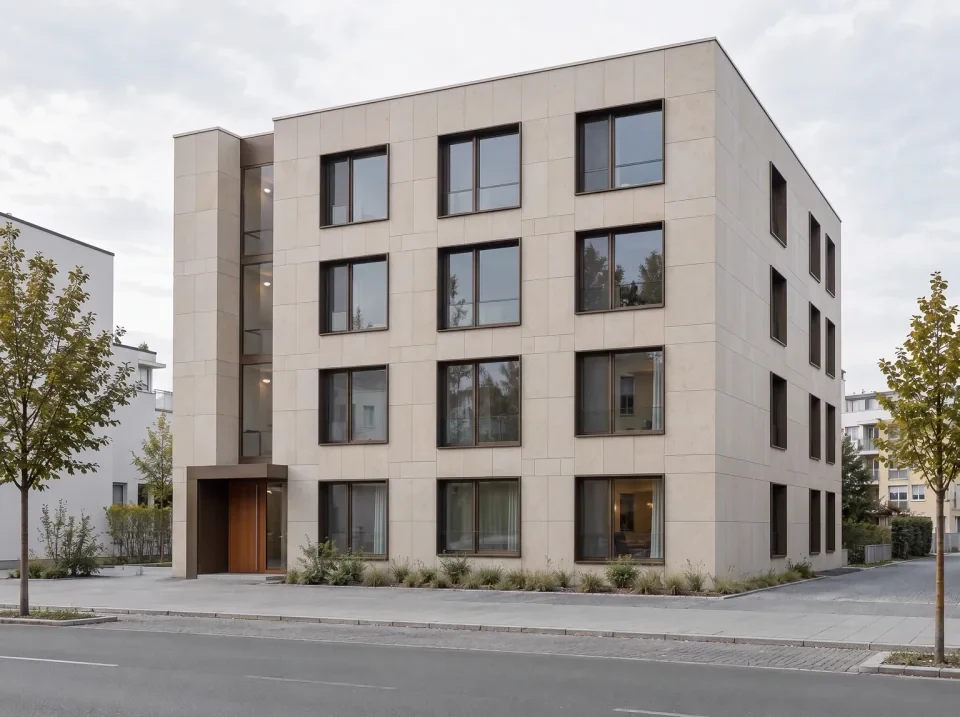
Mineral envelope 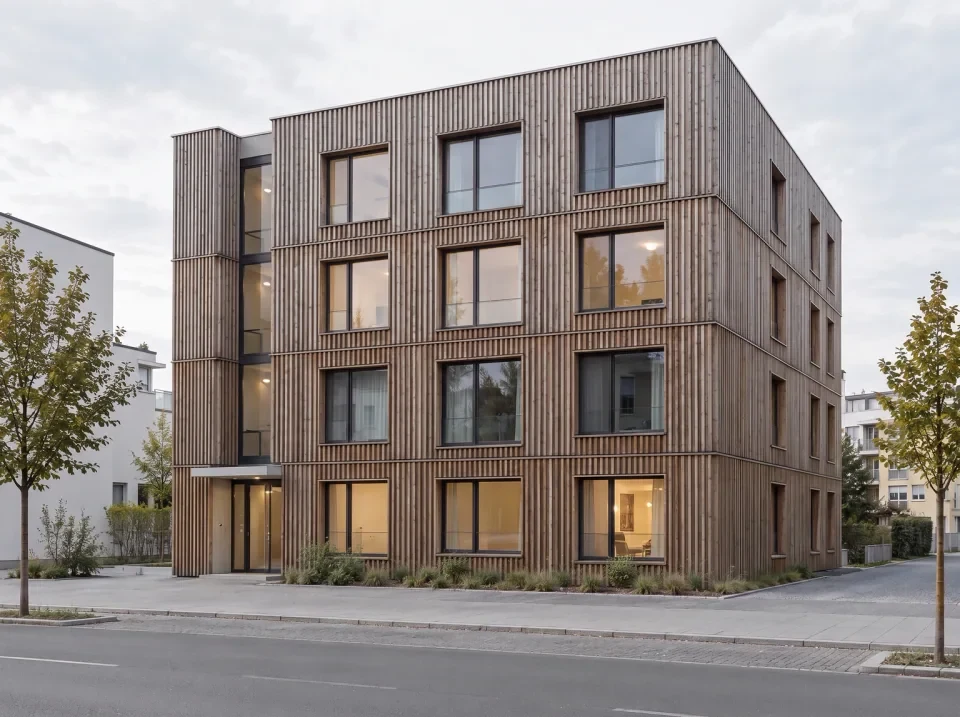
Timber screen - Selected direction Continue from this image
- Continue to video
Connect the selected image to a video step. Choose the model and describe the camera movement.
From a Still to a Moving Scene
Concept films exploring light, atmosphere and camera movement.
From a Reference to the Next Iteration
Bring the Design
Add a sketch, render, photograph or model screenshot to the canvas. You can also develop a new concept from a written brief.
Explore a Direction
Connect an editing step to your source. Describe what to change, what to keep and how to use any material or atmosphere references.
Compare and Refine
Review the alternatives beside their source. Connect the result you choose to another step and continue developing it on the same canvas.
Move into Video
Send a selected image to a video step. Choose a compatible model, describe the movement and review the credit estimate before running it.
Design Questions You Can Explore
Try a material, a different light or a spatial arrangement. Compare each result with the design you started from.
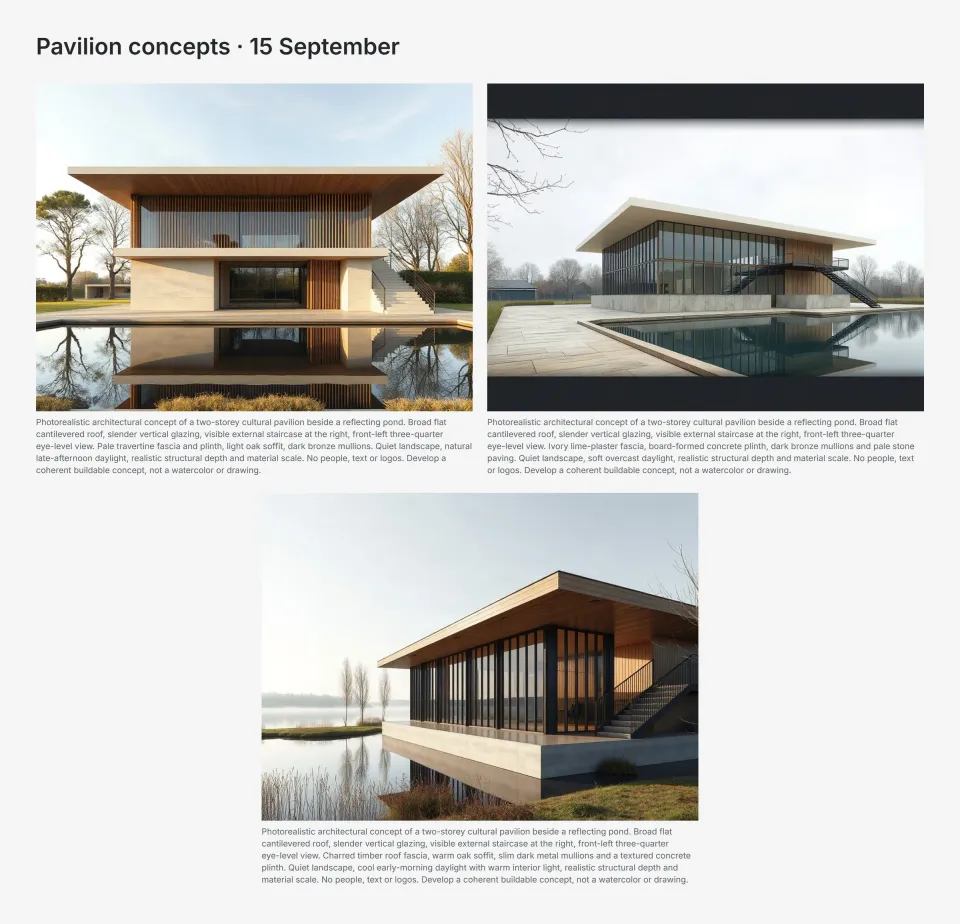
One Brief, Three Pavilion Concepts
- Starting point
- A pavilion sketch informed a written brief: two storeys beside a reflecting pond, a cantilevered roof and an external stair.
- Directions
- Three prompts explored stone in afternoon light, plaster under an overcast sky and timber in cool morning light.
- Review
- Flux Schnell generated three concepts. The selected images were exported as a moodboard with their recorded prompts.
This was a concept-generation trial. Geometry and viewpoint also changed, so the images do not isolate a material change.
Read the trial →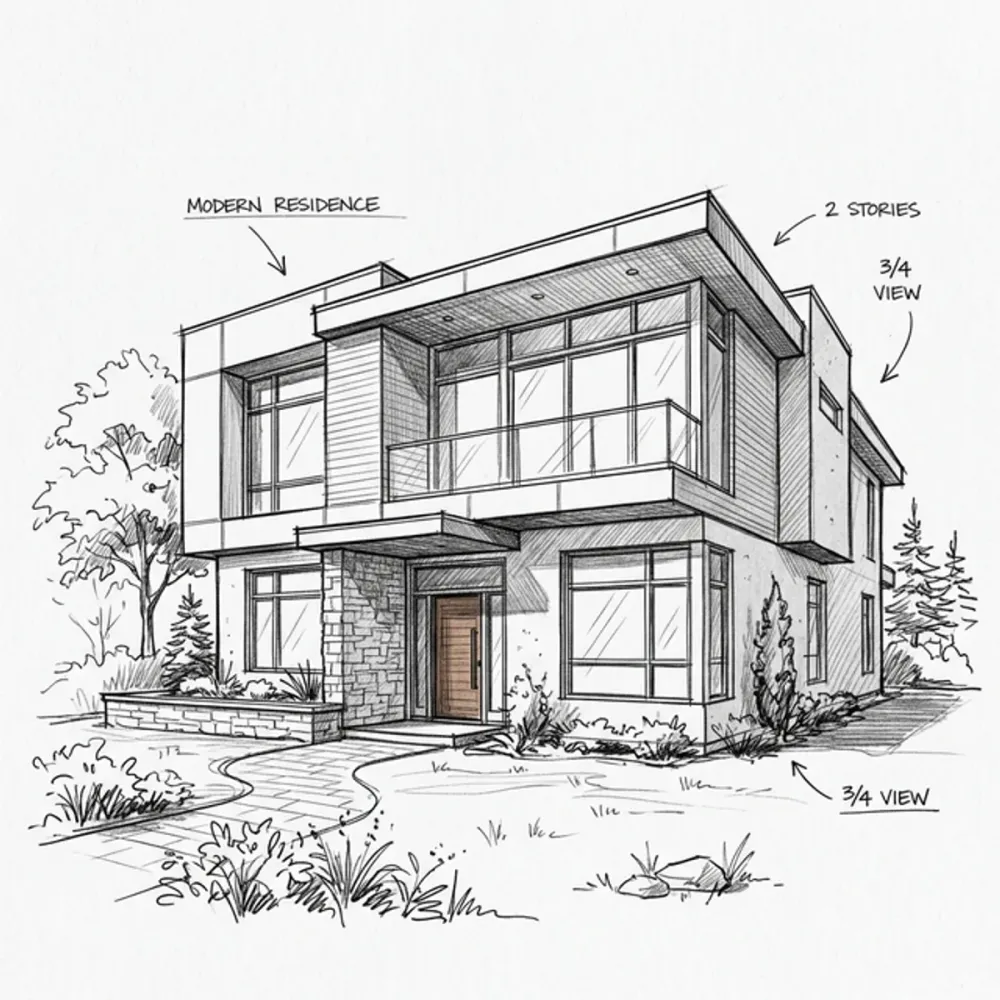
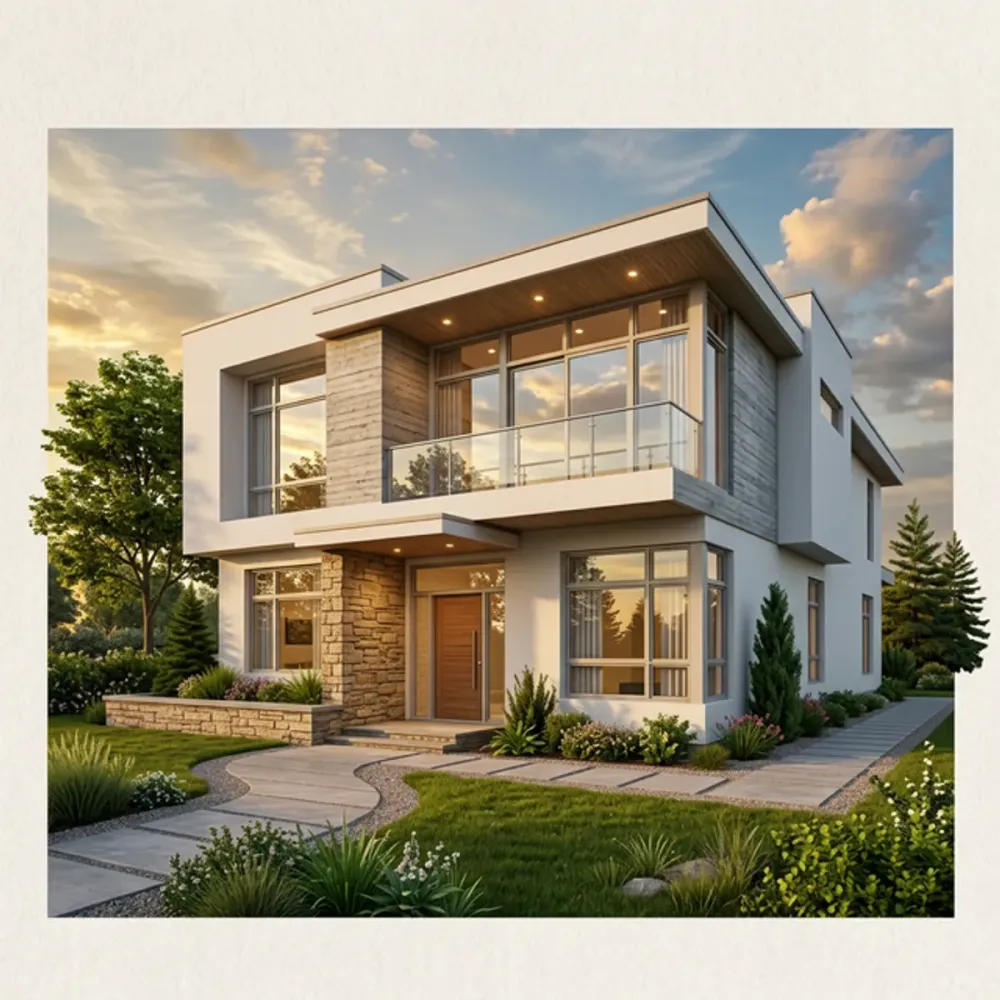
Develop a Sketch
Use the sketch or model view as a reference for materials, light and context. Review proportions, openings and the viewpoint as the image develops.
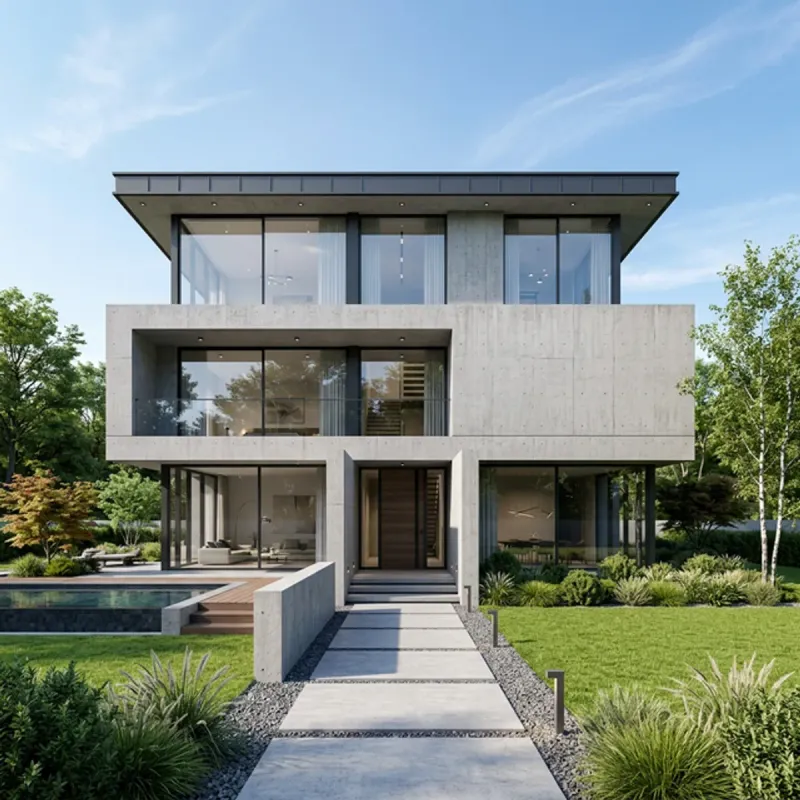 Source image
 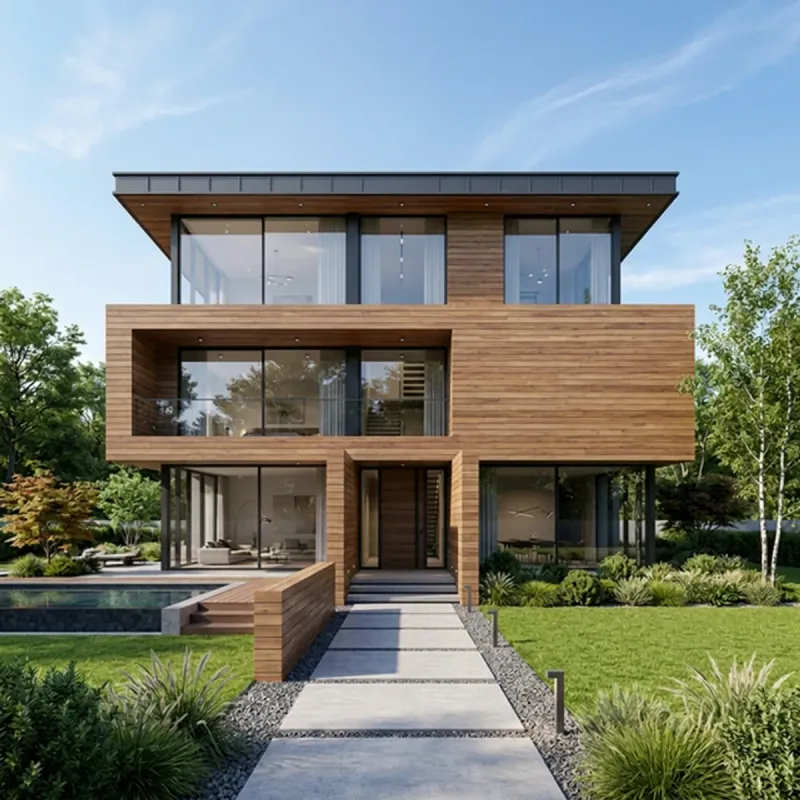 Timber study
 Compare Materials
Develop different cladding directions from one source image. Keep the alternatives side by side and carry the selected result into your next revision.
Daylight study 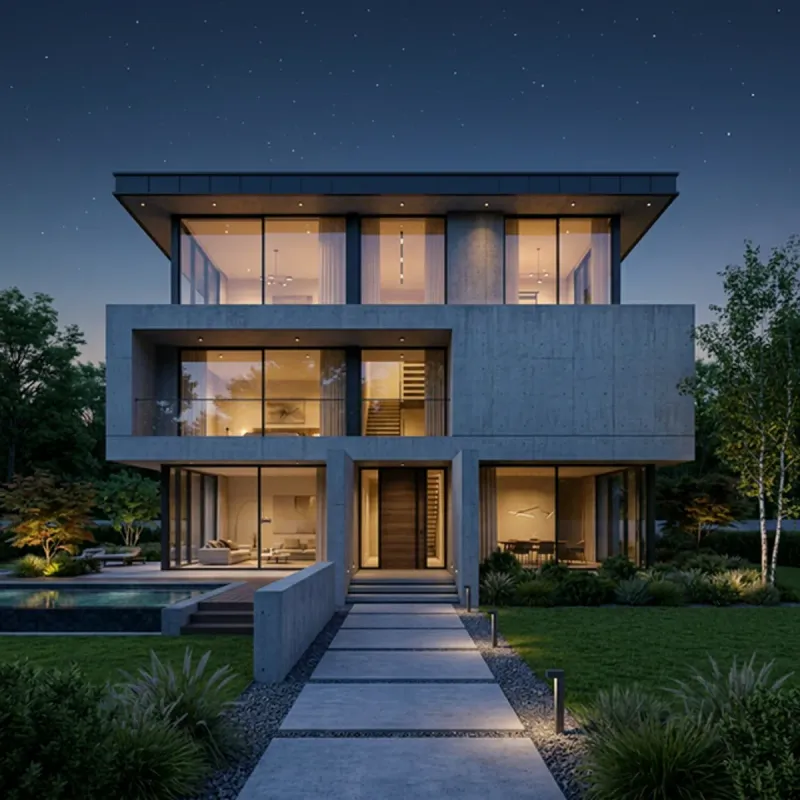 Night study
 Study the Light
Explore a different time of day or interior lighting. Inspect shadows, reflections and brightness before deciding which atmosphere to develop.
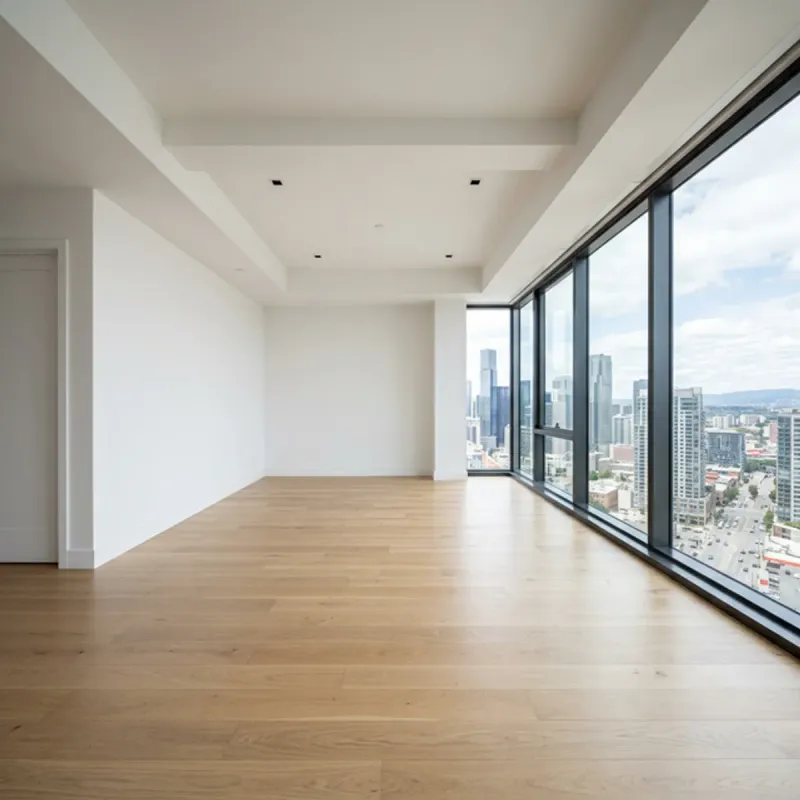 Room reference
 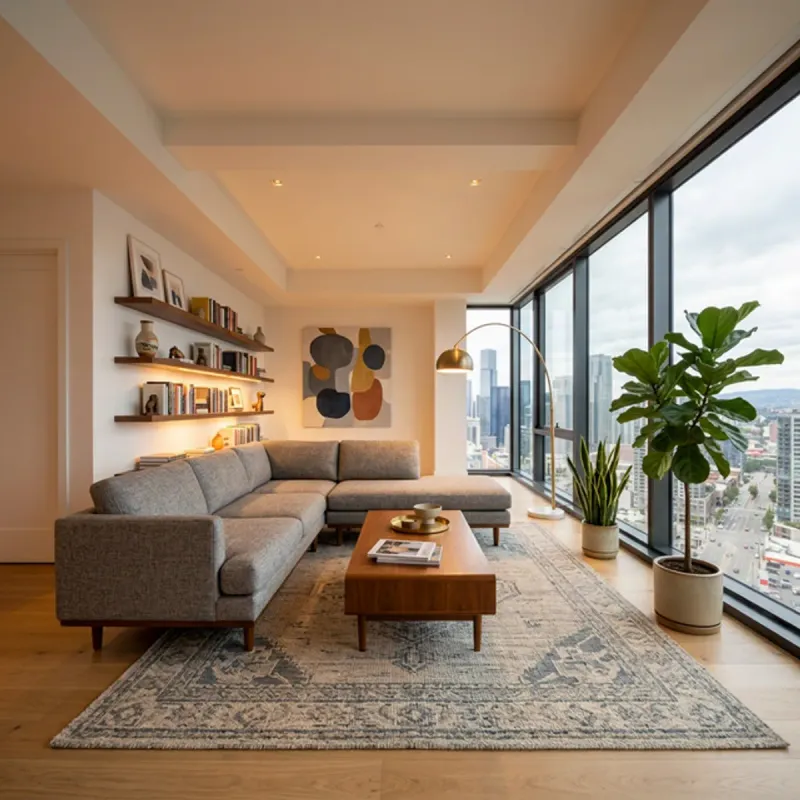 Interior study
 Work with Interior References
Bring a room image and the furniture or material references you want to use. Review their scale, placement and relationship to the room in each result.
Build on the Result
Choose a model for each task. References, revisions and selected outputs stay connected on the canvas.
Sketch to Visual Study
Develop a view from the design material you already have.
See the workflow
- Add your sketch or model screenshot
- Describe the materials, light and setting
- Choose a compatible image model and review the credit estimate
- Compare the result with your reference
Connected Revisions
Try different directions without losing the source or the steps before them.
See the workflow
- Connect an editing step to the source image
- Describe the change and add any references
- Compare the generated alternatives
- Continue from the selected result or return to an earlier direction
Image to Short Film
Develop a selected still into a camera and atmosphere study.
See the workflow
- Connect your selected image to a video step
- Describe the camera movement and scene
- Choose the video model and available settings
- Review the generated clip and download it
A Selection to Discuss
Bring the useful alternatives into a clear review or presentation.
See the workflow
- Select the results you want to keep
- Review the images and their recorded prompts
- Export a moodboard PNG or download the selected files
- Share a read-only canvas link for someone to review
Credits for the Work You Run
One-time credit packs, no subscription. Start free with Explore.
Cost depends on the model, operation and settings. Review the estimate before running a step. Current packs are listed at archly.ai/pricing.
Before You Start
What can I bring into Archly?
Upload PNG, JPG or WebP images, including sketches, renders, photographs and model screenshots. You can also start a new image from a written brief. Available output sizes depend on the model and settings.
Can I keep developing a result on the same canvas?
Yes. Connect a selected result to another editing, video or 3D step. The canvas keeps the workflow visible so you can compare directions and continue from the image you choose.
Which models can I use?
The app offers OpenAI and Google image models, Kling, Veo and Seedance for video, and Hunyuan for image-to-3D. Choose a compatible model for each task. The app shows the available controls and credit estimate.
Will an edit preserve every part of the design?
A source image, reference images and written instructions guide the edit. Models can still change geometry, openings or details. Compare the result with your source before using it to communicate a design decision. Generated 3D meshes are visual studies, not construction models.
How do credits work?
The cost depends on the model, operation, settings and output count. The estimate appears before you run a step. Explore starts with 100 credits; verifying your email brings the total to 500. Paid packs are one-time purchases.
How are my images processed?
Your images are sent to the infrastructure provider needed to run the selected operation. Archly’s privacy policy explains data use, storage and deletion requests: archly.ai/legal/gizlilik.
Start with Your Design
Bring a reference, develop the alternatives and carry the selected result forward.